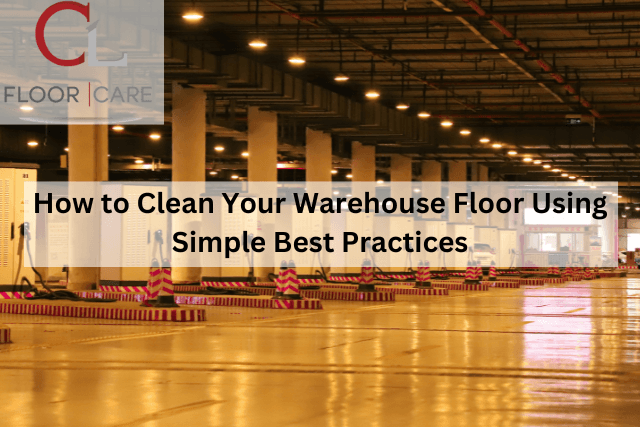
How to Clean Your Warehouse Floor Using Simple Best Practices
Why a Clean Warehouse Floor Matters for Safety and Operations
Dirty and dusty warehouse floors create real hazards that affect everyone on site. Dust and debris cause respiratory issues for your team. Spills and stains turn walkways into slip zones, especially around forklift routes. The connection between maintaining a clean warehouse and preventing slips and falls isn’t just common sense; safety standards across the UK specifically address floor cleanliness because workplace accidents can be prevented with proper attention.
Beyond preventing accidents, clean floors directly improve operations. Stock moves freely without obstacles. Equipment lasts longer without rough grit grinding into parts. Inspections become simpler when the floor condition is clearly visible. Keeping your warehouse clean becomes part of running an efficient operation rather than just ticking boxes.
Your Floor Type Matters
Not all warehouse flooring reacts the same way to water, chemicals, or machine scrubbing. A concrete floor that’s been in place for years has different needs from newly installed epoxy flooring, and using the wrong cleaner can permanently damage expensive surfaces or simply waste hours of effort. Concrete surfaces dominate older warehouses because they’re tough and cheap, but they soak up liquids. Spills sink in rather than sitting on top. Also, wear and tear show up as pitting and cracks that trap dirt.
Epoxy flooring seals that concrete underneath, creating a smooth surface that stops stains and makes cleaning simpler. Resin flooring offers similar benefits with different properties suited to heavier traffic or areas that get wet often. Know your floor type. It tells you which ways of cleaning work best and which equipment you should use.
Once you’ve identified your floor type, you can build an appropriate daily maintenance routine.
Setting Up a Daily Routine That Keeps Your Warehouse Floor Clean
Building cleaning into normal operations works better than occasional big clean-ups that disrupt everything. A regular cleaning routine handles dirt before it builds up into serious problems. Here’s what works when it comes to cleaning warehouse floors effectively.
Stop Dust Build-Up with Regular Sweeping
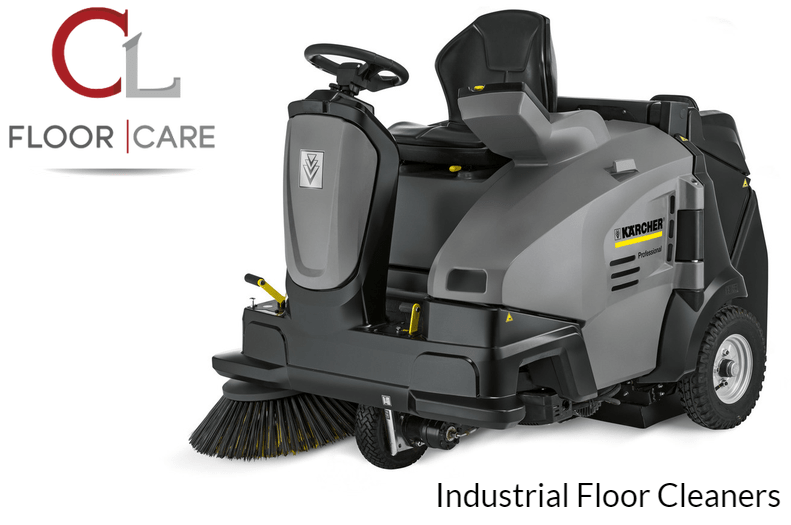
Regular sweeping forms the basis of keeping any warehouse floor clean. A decent broom handles visible debris in smaller spaces, but most warehouses will need an industrial floor sweeper that covers ground faster and picks up fine dust rather than pushing it around. The best way to remove dust and debris starts with choosing equipment that reduces dust rather than spreading it around.
Commercial vacuum cleaners pick up what sweeping misses in tight spaces around racking, significantly reducing particle concentration that affects breathing and visibility. Consistent cleaning improves air quality and keeps surfaces cleaner between deep cleans. Remove any dust daily and you’ll notice the difference.
Clean Spills Immediately
Warehouse floors encounter spills from leaking pallets, forklift hydraulic systems, and tracked-in water. Every spill becomes more dangerous the longer it sits. Spot cleaning means dealing with these straight away rather than waiting for scheduled cleans.
Keep the right equipment near high-traffic areas and forklift routes, such as absorbent granules for oil, degreaser for stubborn stains, and warning cones to mark wet areas.
Make sure you dry the floor properly after spot cleaning. It matters as much as removing the spill itself.
Daily Checks Catch Problems Early
After handling visible debris and immediate hazards, daily checks ensure nothing was missed and the job is done right. End each shift with a brief walk-through. Check whether walkways are clear and floors are kept clean.
These simple checks prevent huge build-ups that make people give up. A floor swept daily needs ten minutes of attention; one ignored for a week might need two hours with industrial equipment.
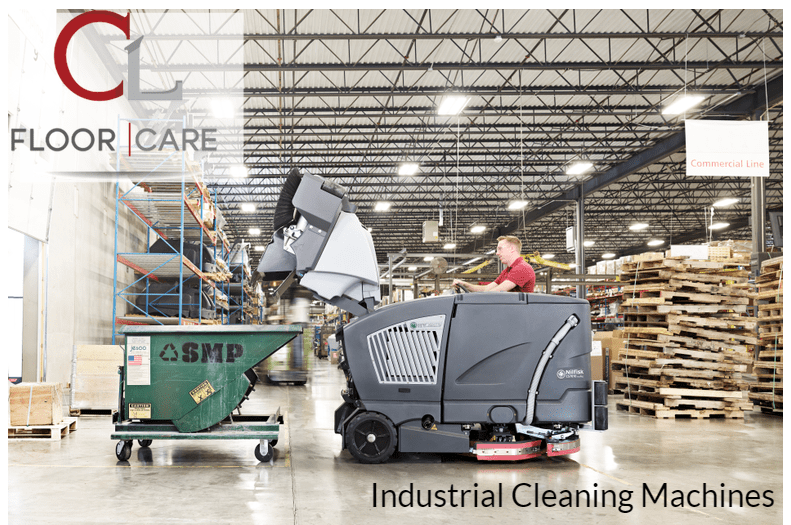
Choosing the Right Cleaning Equipment for Your Warehouse Floor
Understanding what different machines actually do helps you invest in tools that solve real problems. The choice comes down to your warehouse size and the type of dirt you’re dealing with. Getting the right equipment makes all the difference to your cleaning results.

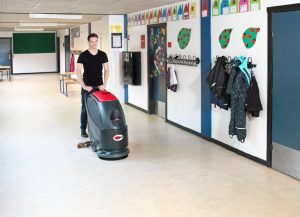
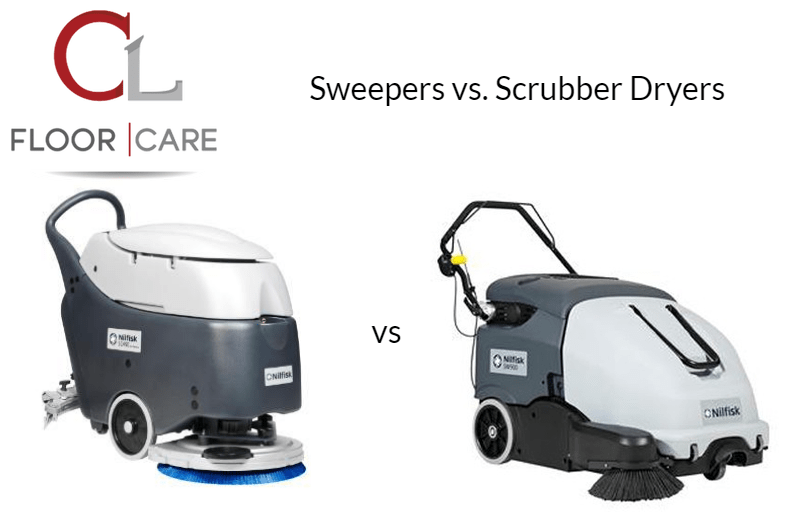
Cover Ground Fast with Sweepers
Sweepers work quickly whilst catching dust rather than throwing it into the air. Walk-behind sweepers suit warehouses up to 10,000 square feet. Ride-on sweepers become worth it above 15,000 square feet, where walking becomes tiring.
These cleaning machines excel at cleaning large areas quickly, freeing your team for other tasks. Wide cleaning paths mean fewer passes across the floor. Sweepers handle dry dust and debris but can’t manage wet messes or stuck-on grime.
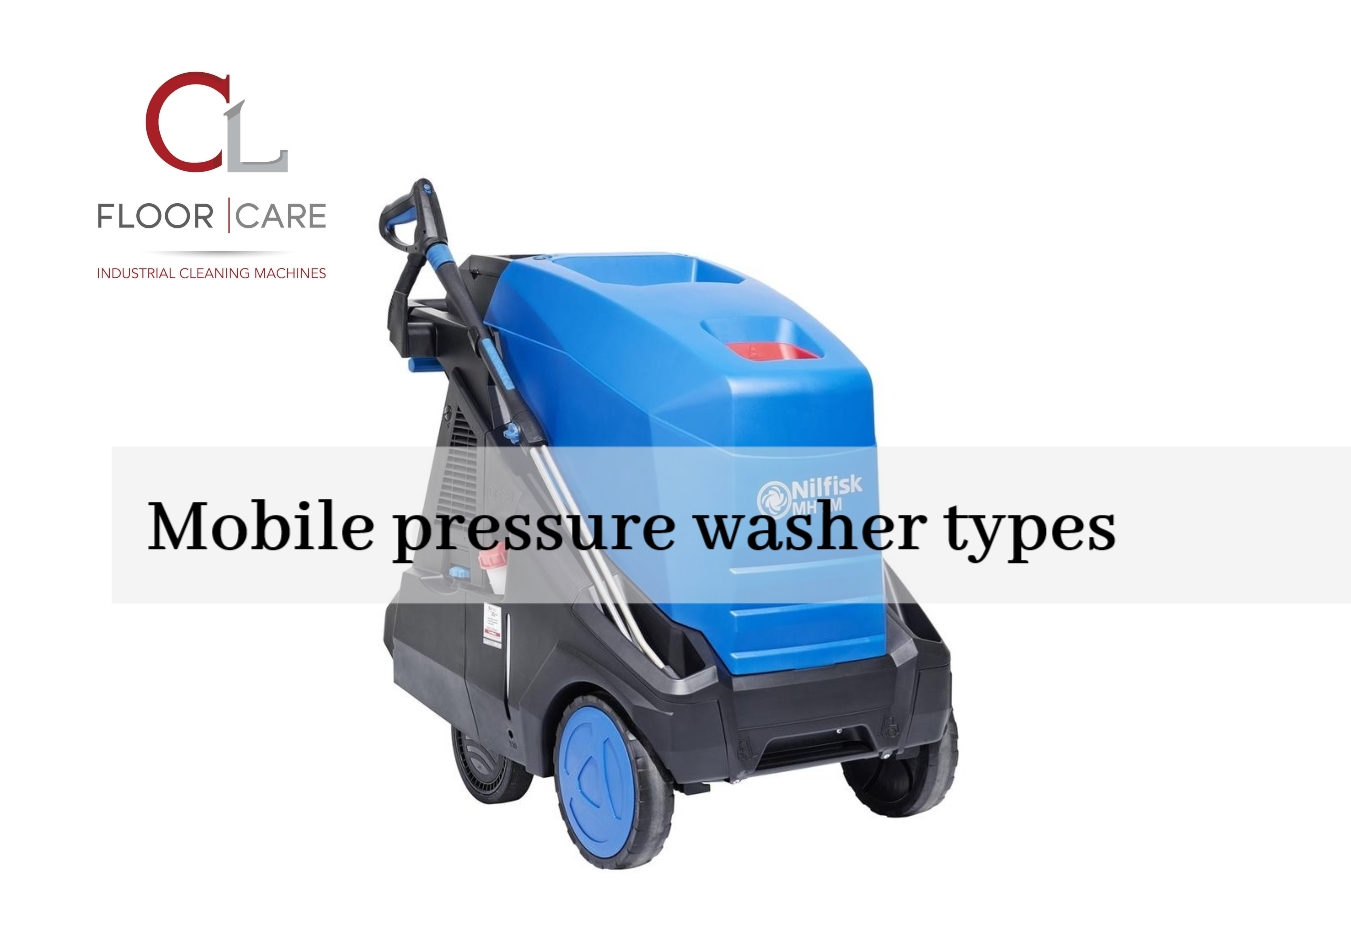
When You Need Deep Scrubbing Power
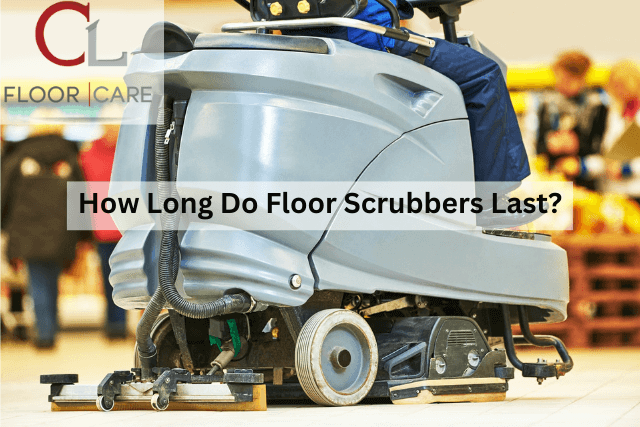
Floor scrubbers tackle everything stuck to the surface. They scrub, rinse, and pull out dirty water in a single pass, turning grimy concrete surfaces back to their original colour. A floor scrubber dryer combines scrubbing and drying into one operation, leaving surfaces dry enough to walk on straight away is important for preventing accidents in active warehouses.
A mid-sized scrubber dryer can effectively clean 20,000 square feet in under two hours. Anyone who’s mopped that space by hand knows why scrubbers exist. When it comes to powerful cleaning at scale, these machines deliver results that manual mopping simply can’t match.
Don’t Forget the Basics
Even warehouses with all the cleaning machines need mops, buckets, and brooms for tight spaces between racking and small spills. Manual cleaning gives warehouse workers ownership over their immediate work areas, encouraging them to handle problems as they appear rather than waiting for scheduled machine runs.
Knowing When Equipment Needs Replacing
Floors that stay grimy despite regular cleaning show your current cleaner isn’t matching the task scale. Poor results from worn equipment cost more than investing in proper replacements. Modern sweepers and scrubber dryers handle a wide range of floor types better than older models, with better batteries and improved dust suppression systems. Get the right tools. They pay for themselves.
The Right Process Gets Results
A consistent process delivers the same results whether you’re cleaning or someone else is. Following a clear cleaning process ensures quality every time.
Prepare the Area Before Cleaning
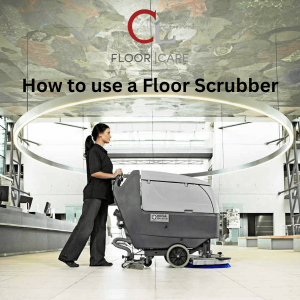
Move any stock away from the area you’re cleaning and mark off zones if operations continue. Sweep the floor well before adding water to remove dust from the surface. Running a scrubber over heavy debris clogs the machine, grinding dirt deeper into the floor instead of lifting it out. Plan your cleaning route to avoid trapping yourself or staff in corners with wet floors.
Scrub and Dry Floors Safely
Make steady, overlapping passes that cover the entire floor without missing strips. Watch the dirty water tank and empty it before it fills up. Overfilled tanks mean the machine can’t properly pull out water, leaving wet patches behind.
Check the floor isn’t too wet before reopening areas to traffic. Getting the floor dry maintains a clean and safe warehouse where operations resume straight away without slip risks.
Check and Touch Up After Cleaning
Walk the cleaned area and look for spots needing extra attention, stubborn stains the machine didn’t fully lift or dusty corners it couldn’t reach. These touch-ups take little time but turn okay work into thorough cleaning that leaves the warehouse looking its best.
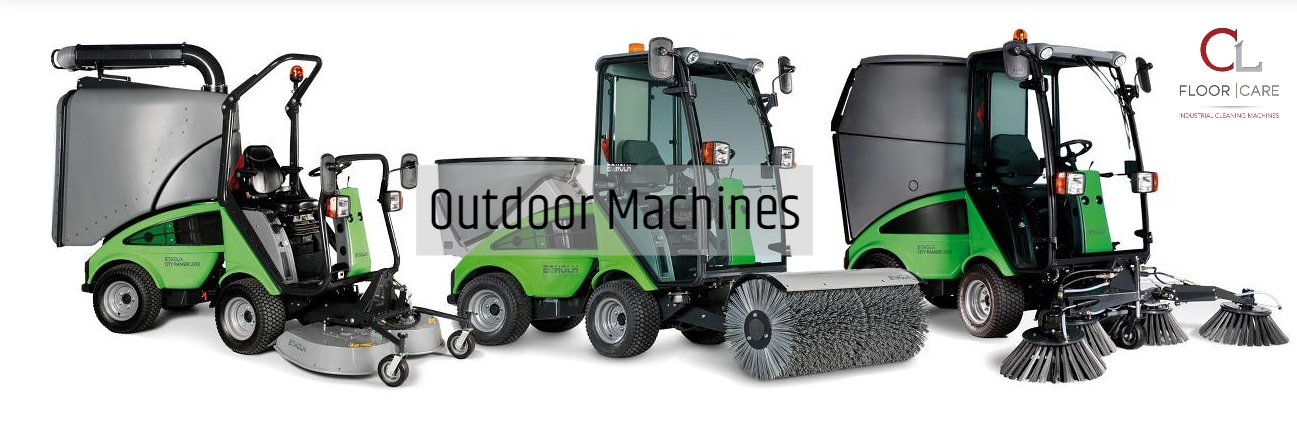
When Normal Cleaning Isn’t Enough
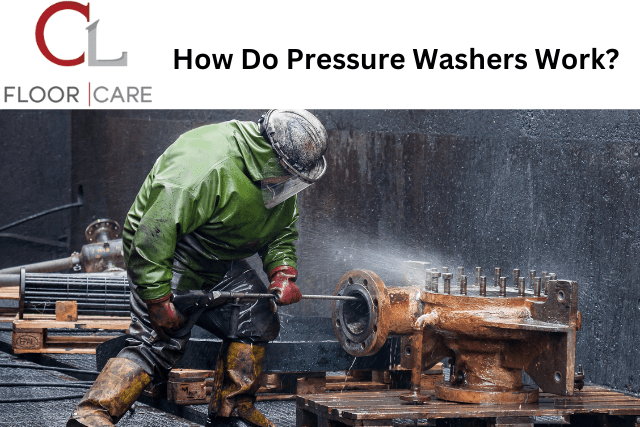
Even the best daily routines can’t handle everything. Periodic deep cleaning strips away built-up dirt that regular cleaning can’t reach. Industrial cleaning uses stronger chemicals and higher-powered equipment suited to heavy staining or floor damage caused by wear and tear. Schedule annual or twice yearly deep cleaning as part of warehouse maintenance. It prevents problems from reaching the point where they disrupt operations.
This deeper approach also extends the life of your flooring investment. That overlooked corner by the loading bay? It always becomes a problem eventually if you only rely on daily maintenance. Professional tips for cleaning can help you tackle these tougher challenges effectively.
Making It Last
Keeping standards long-term requires building cleaning the warehouse into how operations run daily.
Train Staff on Safe Cleaning
Warehouse workers need proper instruction on operating cleaning machines safely. Explain how clean warehouse floors cut down accidents and respiratory issues caused by poor air quality. When your team understands the connection between their efforts and real safety improvements, they keep standards without constant supervision.
Monitor and Adjust Your Routine
Walk the warehouse regularly to check whether your cleaning routine is actually working as it should. Notice patterns. Do certain areas become grimier faster? The cleaning routine that worked last year might miss problems this year if warehouse operations have changed. Regular monitoring catches these shifts before they become fixed.
Moving Forward With Cleaner, Safer Warehouse Floors
Effective warehouse floor cleaning isn’t complicated: sweep daily, invest in proper equipment, and stick to your schedule. Clean floors directly cut down accidents whilst improving productivity and equipment life.
Maintaining a clean warehouse shows respect for your team and pride in professional standards. If your cleaning equipment isn’t delivering the cleaning results your warehouse needs, expert advice on warehouse floor cleaning equipment helps you invest wisely in machines that match your floor type and actual challenges.